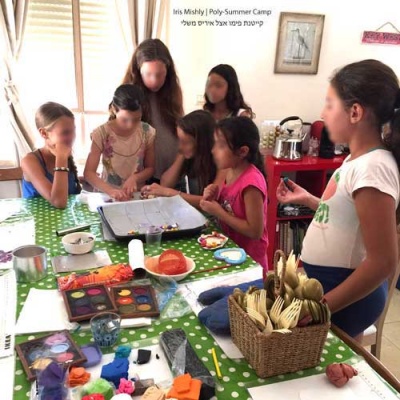
 Every year at about this time, parents deal with THE challenge – Summer vacation :)
This is the time to “re-invent ourselves” thinking how can be keep our children happy (and busy!) while they are away from school.
Traveling locally or out of the country, outdoor activities, going to the beach,
BUT! How about staying in the cool air condition and play with clay for a full week?
A Polymer Kids Camp!
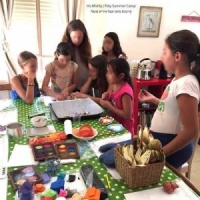
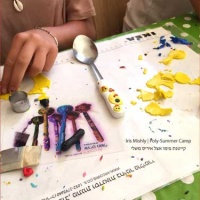
This past week was dedicated to the younger generation in my city – A “poly-summer camp” with enthusiastic ladies and one 12 yrs boy (yes! rare but happened! ;)
Projects ranged from decorating photo frames with miniature food, playing with textures, stamps, stencils, creating a mobile hanger, making a decorated utensil set, covering a pen with millefiori canes and even building a “brocade collection” zippered purse! Pure fun!
So I prepared my home accordingly, covered the table with a VERY thick table cloth, placed 2 pasta machines to the service and off we go!
Wait… Several tips about working with children –
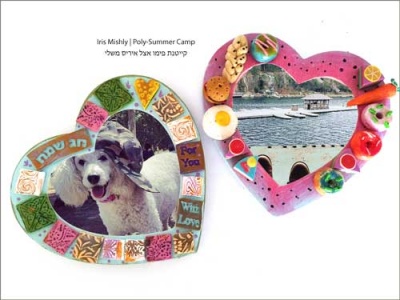 1. It’s always a good idea to have ready made samples for a visual proof of the project you are about to teach.
Children doesn’t always visualise what would be the end result of a 2 hours session and can’t see what you are seeing in your mind.
Always make one of two samples of the offered project, play with colours, techniques and show the variations of each idea you are offering to sparkle their imagination (which brings me to the 2nd tip).
2. Creativity is a wonderful thing but consider the amount of time and children around your craft table.
It’s easier to give the same instructions to 10 children and almost impossible to give 10 different instructions to 10 different children doing 10 separate projects and stay in time frame.
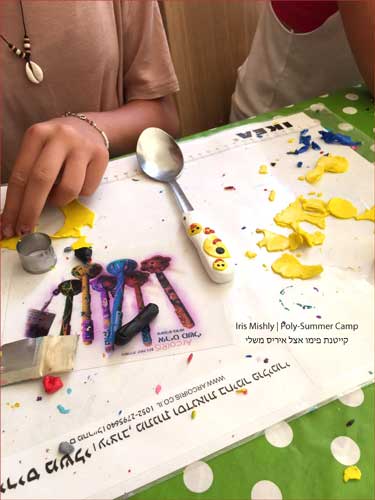 If you want to encourage creativity and “do what you wish” approach that is fine as long as you realise that may take longer than expected (or with “quick” artists – some will stay “out of work” if they complete their project ahead of time). I tend to give one or two options. They can always get some clay and experiment more at home.
3. Floor. Your floor with be filled with clay bits after each workshop. You can either place some kind of protecting surface (vinyl, plastic cover taped all around) or simply acknowledge the fact that you’ll need to slowly clean all the dots and leftovers sticking to the surface once everyone is home. It’s not such a big deal but it’s work :) You can leave 10 minutes at the end of the class and ask the children help – it’s only reasonable that each person clean after him when he is finished.
Ready to see fun polymer clay ideas to do with children this summer?
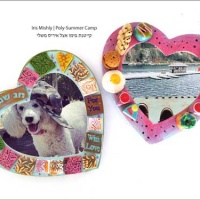
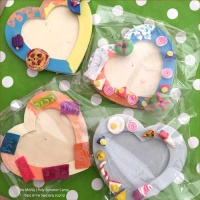 1. Photo frames –
These simple wooden frames were purchased in a craft store.
I chose wood because I wanted to paint it in colourful acrylic paints and bake them in the oven along with the clay.
If you prefer to use a plastic frame and bake your clay separately – that’s a good option too.
I think IKEA has nice non-expensive plastic photo frames. The heart shaped photo frames were decorated with basic miniature food (cakes, bagels, cupcakes, egg, candy) and a 2nd frame was decorated with stamped squares baked along with the frames. After cooling down all items were glued to secure them in place.
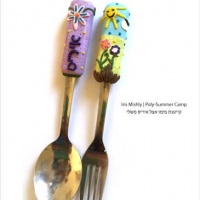
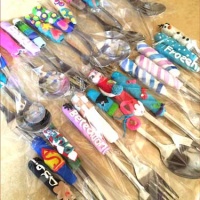
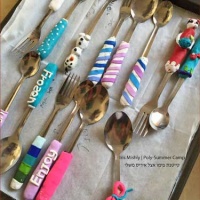 2. Covering utensils –
I chose metal items to be able to bake them in the oven but wooden utensils would work as well.
Make sure the children know they can’t place these beauties in the dish washer or… Only manually washing.
Pinterest is an amazing source of inspiration looking for ideas to cover forks, spoons and tea spoons with polymer clay.
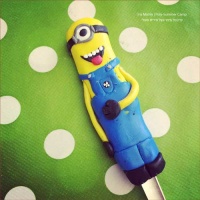
Once of my students made a minion out of it!
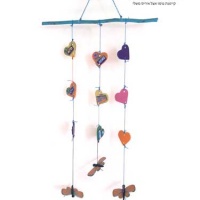
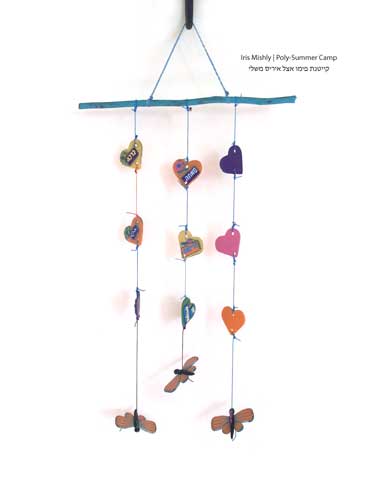 3. Mobile hangers –
This project is a fun opportunity to hang little clay objects using threads and tree branches. It can be a carefully planned project or leftover beads from all other projects you made with the children.
I chose to use cookie cutters and stamps and then thread all items on a coloured tree branch taken from my garden.
The branch was painted with acrylic paint as well.
The millefiori butterflies can either be taught during class or demonstrated by yourself and divided between the participants (what I did). Don’t forget to pierce the items before baking or you’ll have a million items to drill manually! :)
 4. Covering pens –
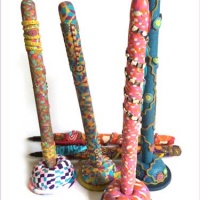
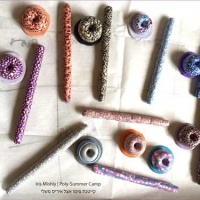
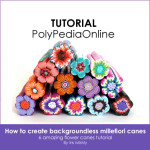
This project was my opportunity to teach the children a bit about millefiori and canning. We made a mosaic cane and then covered our pen and holder. I use the sushi analogy to explain the slices and identical pattern – it turns out kids love sushi! ;)
Make sure you use oven proof pens, secured to place in the oven. I use BIC pens and take out the ink before inserting into the oven. I don’t know if BIC can hold in high temp (such as Kato clay requires but make sure you try ahead of time).
After the pen is cool I insert the ink back.
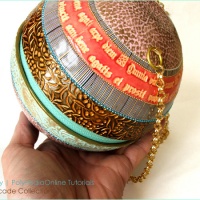
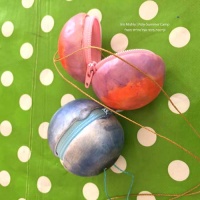 5. Creating round purses –
This project was always something I wanted to try with children and see if it was too complicated or not (it’s not :).
Since the process involve multiple baking I chose a simple version of my “Brocade Collection” and used powders. If you want to learn about advanced options for this design you are welcome to check out my class and kit – “Brocade Collection” tutorial.
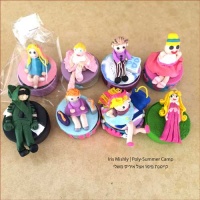 6. Sculpturing –
Polymer clay is the perfect medium to sculpt figurines.
In this project we chose to create a small princess (or “Arrow Guy”) figurine and place it as a cover for a small glass candle holder. A sweet souvenir to save small jewellery, candy, change or even sweetener tablets!
There are many additional projects you can created with kids – keychains, bookmarks, buttons, brooches, hair accessories, there is really no limits to the number of ideas, as long as we keep it simple and clear to the future young generation of artists!
Good luck and have a great (cool) summer!
Iris Mishly :)
2 comments
Trackbacks and pingbacks
No trackback or pingback available for this article




What a great idea! I played with my grand daughter (6) yesterday with PC, she was so excited about it. We made minions.
Next week I’m having a group of 7 kids for a little PC class.
Good luck Carmen! It IS fun! ?❤️